DIY Gel Manicure for Beginners: 12 things you should know before you start

This post contains affiliate links. I may earn a small commission if you shop through them — at no extra cost to you.
Doing your own gel manicure at home looks pretty simple: prep your nails, apply a base coat, add a couple of layers of color, apply a top coat, cure everything under a nail lamp, and you’re done. Right?
Technically, yes. But after years of doing gel nails for clients as a former nail tech and doing my own gel nails many, many times, I can tell you there are a lot of little things that can make the difference between a beautiful gel manicure and one that starts lifting or peeling sooner than you expected.
If you’re learning how to do your own nails at home, don’t worry about making your first set perfect. A clean, long-lasting gel manicure takes practice, especially when you’re painting with your non-dominant hand.
Instead, I want to share some of the things I wish I had known when I first started working with gel polish. From nail prep and thin coats to bubbles, curing, nail care, and gel allergies, these beginner lessons can hopefully save you some frustration along the way.
If you need the complete application process rather than beginner tips, start with my step-by-step guide to doing your own gel nails at home.
1. Nail prep is more important than you think
If there is one thing I want you to remember, it’s this: don’t rush your nail prep.
You can buy beautiful gel colors and expensive nail products, but your manicure still may not last if the foundation isn’t properly prepared.
Before applying gel polish, I shape my natural nails, work on the cuticle area, lightly buff away the surface shine as appropriate for the system I’m using, and thoroughly clean away dust and oils.
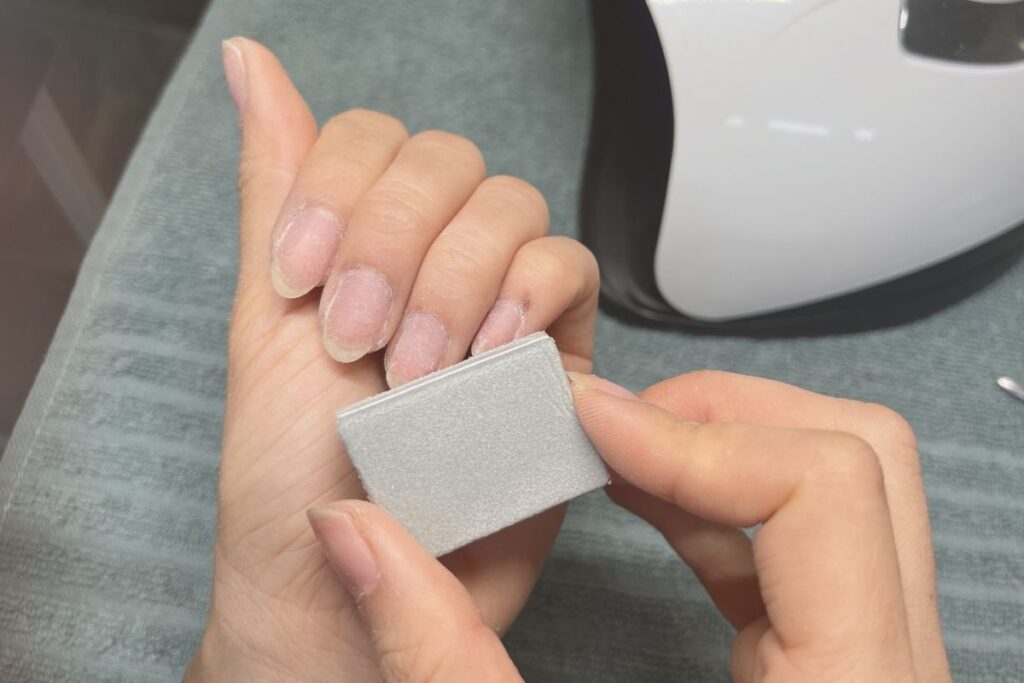
Especially pay attention to the little corners and edges of your nails.
I’ve seen many manicures where the center of the nail was prepared perfectly, but the corners and edges were missed. Those little areas can become places where lifting starts.
At the same time, you don’t need to aggressively file your natural nails. The goal of nail prep isn’t to make your nails as thin or rough as possible. Good nail care still matters underneath your manicure.
2. More gel doesn’t mean a stronger manicure
This is probably one of the biggest things I want beginners to know about a gel nails manicure: more product doesn’t necessarily mean better results.
When a gel color isn’t opaque after the first coat, it can be tempting to add a thick second coat.
Don’t.
I can’t tell you how many times I’ve tried to rush the process by applying a thick coat, only to regret it when it took forever to cure—or didn’t cure properly at all. Then I ended up having to remove it and start over, which took even more time in the end.
I would much rather apply two or three thin, controlled coats than one thick coat.
Thin coats are also much easier to control around your cuticles and sidewalls, especially when you’re doing your own nails with your non-dominant hand.
If your first coat looks a little streaky, that’s okay. Let the layers build the color gradually, and make sure each layer is properly cured according to your product’s instructions.
3. Not every gel polish and nail lamp works the same way
One mistake I’ve run into is assuming that every gel polish should be cured for exactly the same amount of time.
Always follow the instructions for the gel system you’re using.
Different products can have different curing requirements, and the lamp matters too. The British Association of Dermatologists advises people using at-home gel nail kits to follow the manufacturer’s instructions and use the recommended lamp because insufficient curing can increase exposure to uncured product.
So rather than memorizing something like “all gel needs 60 seconds,” check what your particular brand recommends.
This is also why I wouldn’t recommend buying a random lamp and assuming it will work perfectly with every gel product.
If you want to understand UV nail lamps better, you can also read my simple guide to UV nail lamps and your skin.
When you’re learning to do your nails at home, keeping your products simple can make things easier. Start with one system, learn how it behaves, and follow its instructions before experimenting with lots of different products.
4. Bubbles and wrinkles aren’t something to cover up
Have you ever cured your gel polish and noticed little bubbles, ripples, or wrinkles?
I have. And yes, it’s definitely frustrating, but sometimes starting over is better than adding another layer.
Don’t just add more gel and hope the top coat hides everything.
First, look at your application.
Did you apply too much product? Was your layer uneven? Did you follow the recommended curing instructions?
From my experience, thin, even coats are much easier to work with. When I want more color coverage, I’d rather build it gradually with another thin coat.
Also, be gentle when working with your polish. You don’t need to aggressively shake or overwork the product to get a good application.
If something clearly isn’t right with a layer, fix the problem before piling more gel on top.
5. Keep uncured gel polish off your skin
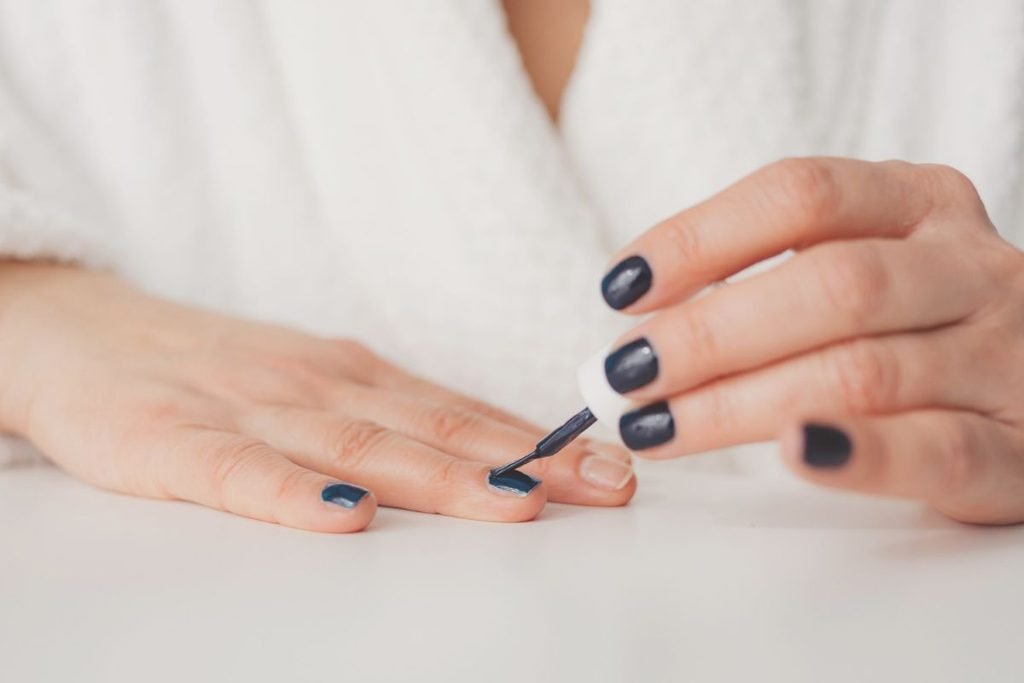
Getting close to the cuticle without actually touching it is one of those skills that looks much easier when someone else is doing it.
It took me a long time to become efficient at painting with my right hand, and even to this day, painting with my non-dominant hand can still be a challenge.
But clean application is about more than making your manicure look professional.
Try not to flood your cuticles or get uncured gel polish onto the surrounding skin. If you accidentally get gel on your skin while you’re applying it, clean it away before curing rather than curing the product onto your skin.
This is something worth practicing before you get into complicated nail art.
Personally, one reason I enjoy using gel polish on myself is that I find it easier to control with my non-dominant hand than systems like builder gel or dip powder. But even after years of doing nails, I still take my time around the cuticles and edges.
6. Yes, gel nail products can cause allergic reactions
Some ingredients used in gel and artificial nail products, including certain acrylates and methacrylates, can cause allergic contact dermatitis in some people. Uncured product coming into contact with the skin is a particular concern, and insufficient curing can also increase exposure to uncured ingredients.
That doesn’t mean everyone who uses gel polish will develop an allergy. It means we should take application and curing seriously.
Nail cosmetic allergies can cause symptoms such as redness, swelling, itching, or dermatitis, and reactions aren’t necessarily limited to the area directly around the nails.
If you think you’re experiencing an allergic reaction to nail products, stop using the suspected product and seek advice from an appropriate healthcare professional.
I don’t say this to scare anyone away from gel manicures. I think it’s simply something DIY nail lovers should be aware of so we can use these products more carefully.
During my time working as a nail tech, I met a few clients who loved gel nails but could no longer wear them because they had developed an allergy after doing their own nails at home. Their experiences always stuck with me and reminded me that proper application isn’t only about making your nails look good.
7. You don’t need every nail tool you see online
If you’re just starting your DIY nail journey, please don’t feel like you need an entire nail salon in your house.
For a basic gel manicure, I would focus on the essentials:
- Nail file and buffer
- Cuticle pusher and trimmer
- Isopropyl alcohol (rubbing alcohol)
- Acetone (if you need to remove old gel polish)
- Cotton pads or lint free nail wipes, you also can cut paper towel to small pieces
- Nail clippers (for shaping and trimming)
- Nail dehydrator (optional but enhances longevity)
- Nail primer (optional, but highly recommended)
- Base coat + Top Coat
- Gel polish (your preferred color)
- UV/LED lamp (required for curing gel polish)
Depending on your gel system, you may also use a dehydrator or primer.
Once you’re comfortable doing a basic manicure, then you can start playing with nail art brushes, dotting tools, stickers, glitter, rhinestones, and all the other fun things.
Trust me, nail supplies have a way of multiplying very quickly!
If you’re wondering where to start, I’ve also put together my 8 must-have nail tools for a perfect at-home manicure.
8. Your first DIY gel manicure probably won’t look perfect
Painting someone else’s nails and painting your own nails are two very different experiences.
When you’re learning how to do your own nails, your non-dominant hand may feel completely useless at first. You might struggle to get close to the cuticle. One nail might be round while another somehow becomes square.
And don’t even get me started on trying to do a French manicure.
Your first manicure may also take forever. And that’s okay.
Speed comes with practice. So does knowing how much gel to leave on your brush, how close you can get to the cuticle, and how to hold your hand when painting the opposite side.
Don’t compare your first DIY manicure with a manicure done by someone who has been doing nails for years. Start with a simple color and focus on clean application.
9. Gel polish isn’t the same as builder gel, dip powder, or acrylic extensions
The terminology around gel nails can get confusing when you’re new.
A basic gel polish manicure adds long-lasting color over your natural nails. Builder gel is a thicker product that can provide additional structure, while dip powder uses a different application system. Acrylic and gel extension systems can also be used to add length.
I’ve worked with different nail systems, and when doing my own nails, I often come back to gel polish because I find it relatively simple and easy to control.
If you’re completely new to doing nails at home, you don’t need to learn everything at once.
Master regular nail polish and a basic gel manicure first. You can always explore builder gel, extensions, dip powder, acrylics, and more advanced techniques later.
If there’s a particular system you’d like me to write a guide about, leave me a comment below. I’d love to share more of what I’ve learned from working with them.
10. Don’t pick or peel off your gel manicure
I know how tempting this is.
You see one little lifted corner and suddenly you want to peel the entire thing off.
Don’t do it.
I’ve done it before, and the surface of your nails can end up looking uneven and feeling thin or weak afterward. Peeling gel can remove layers from the natural nail along with the product.
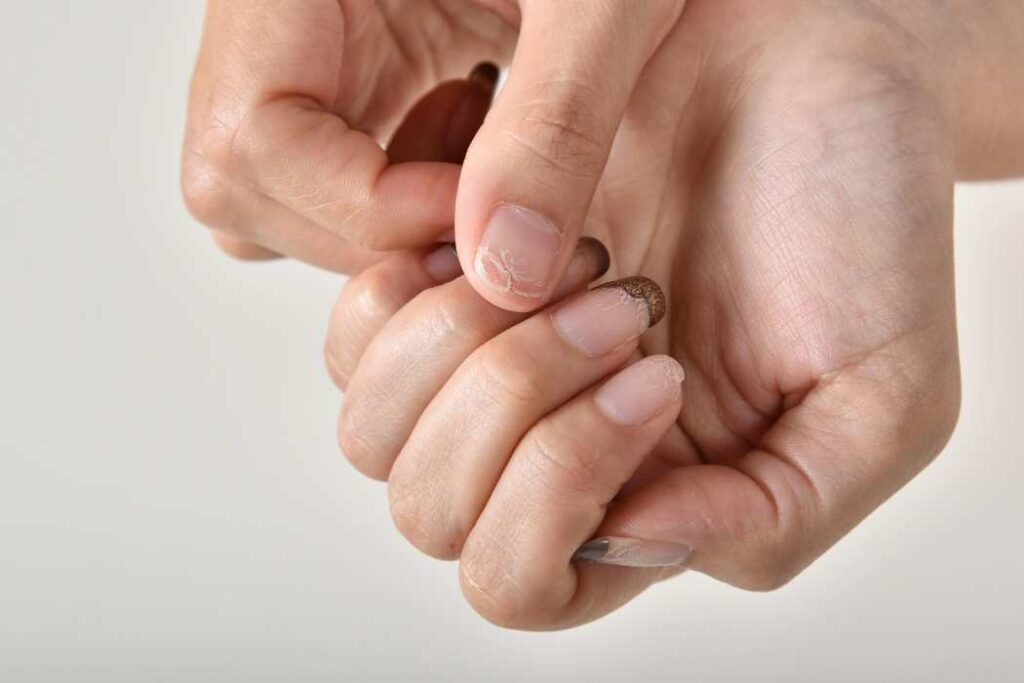
Proper removal is just as much a part of your nail care routine as proper application.
Removal also depends on the type of nail product you’re wearing, so make sure you’re using a removal method appropriate for your particular system.
For regular soak-off gel polish, I’ve already created a complete step-by-step guide to removing gel nails at home.
11. Nail care doesn’t end when your gel manicure is finished
Once your top coat is finished, you’re not completely done.
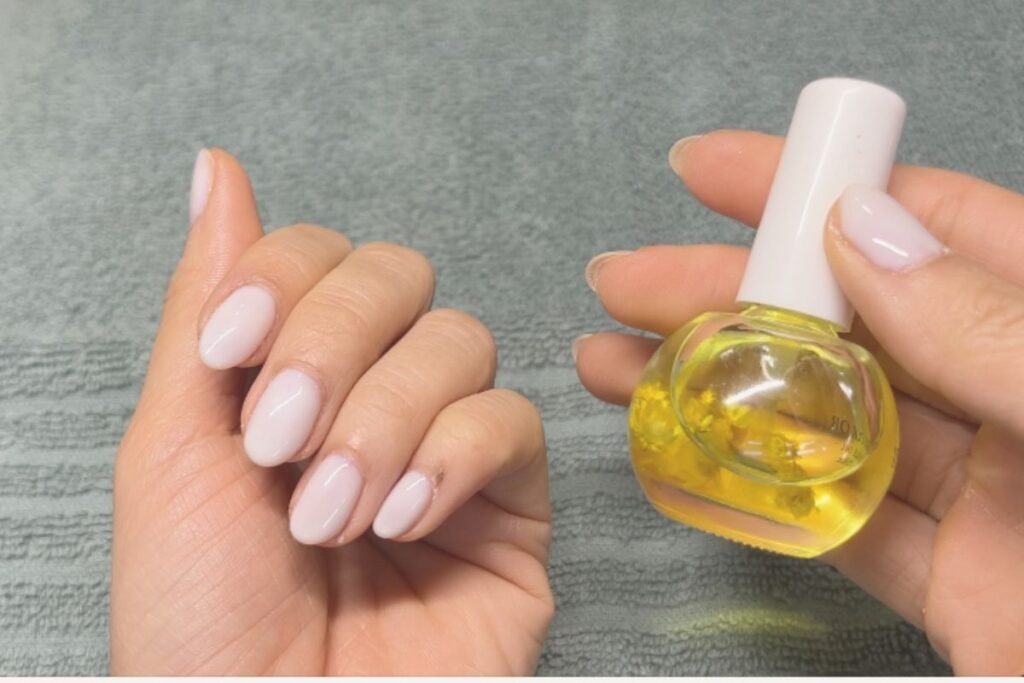
I like to finish my manicure by applying cuticle oil and gently massaging it around my nails and cuticles. I also use hand cream to keep my hands moisturized.
If you want your gel manicure to last, treat it well.
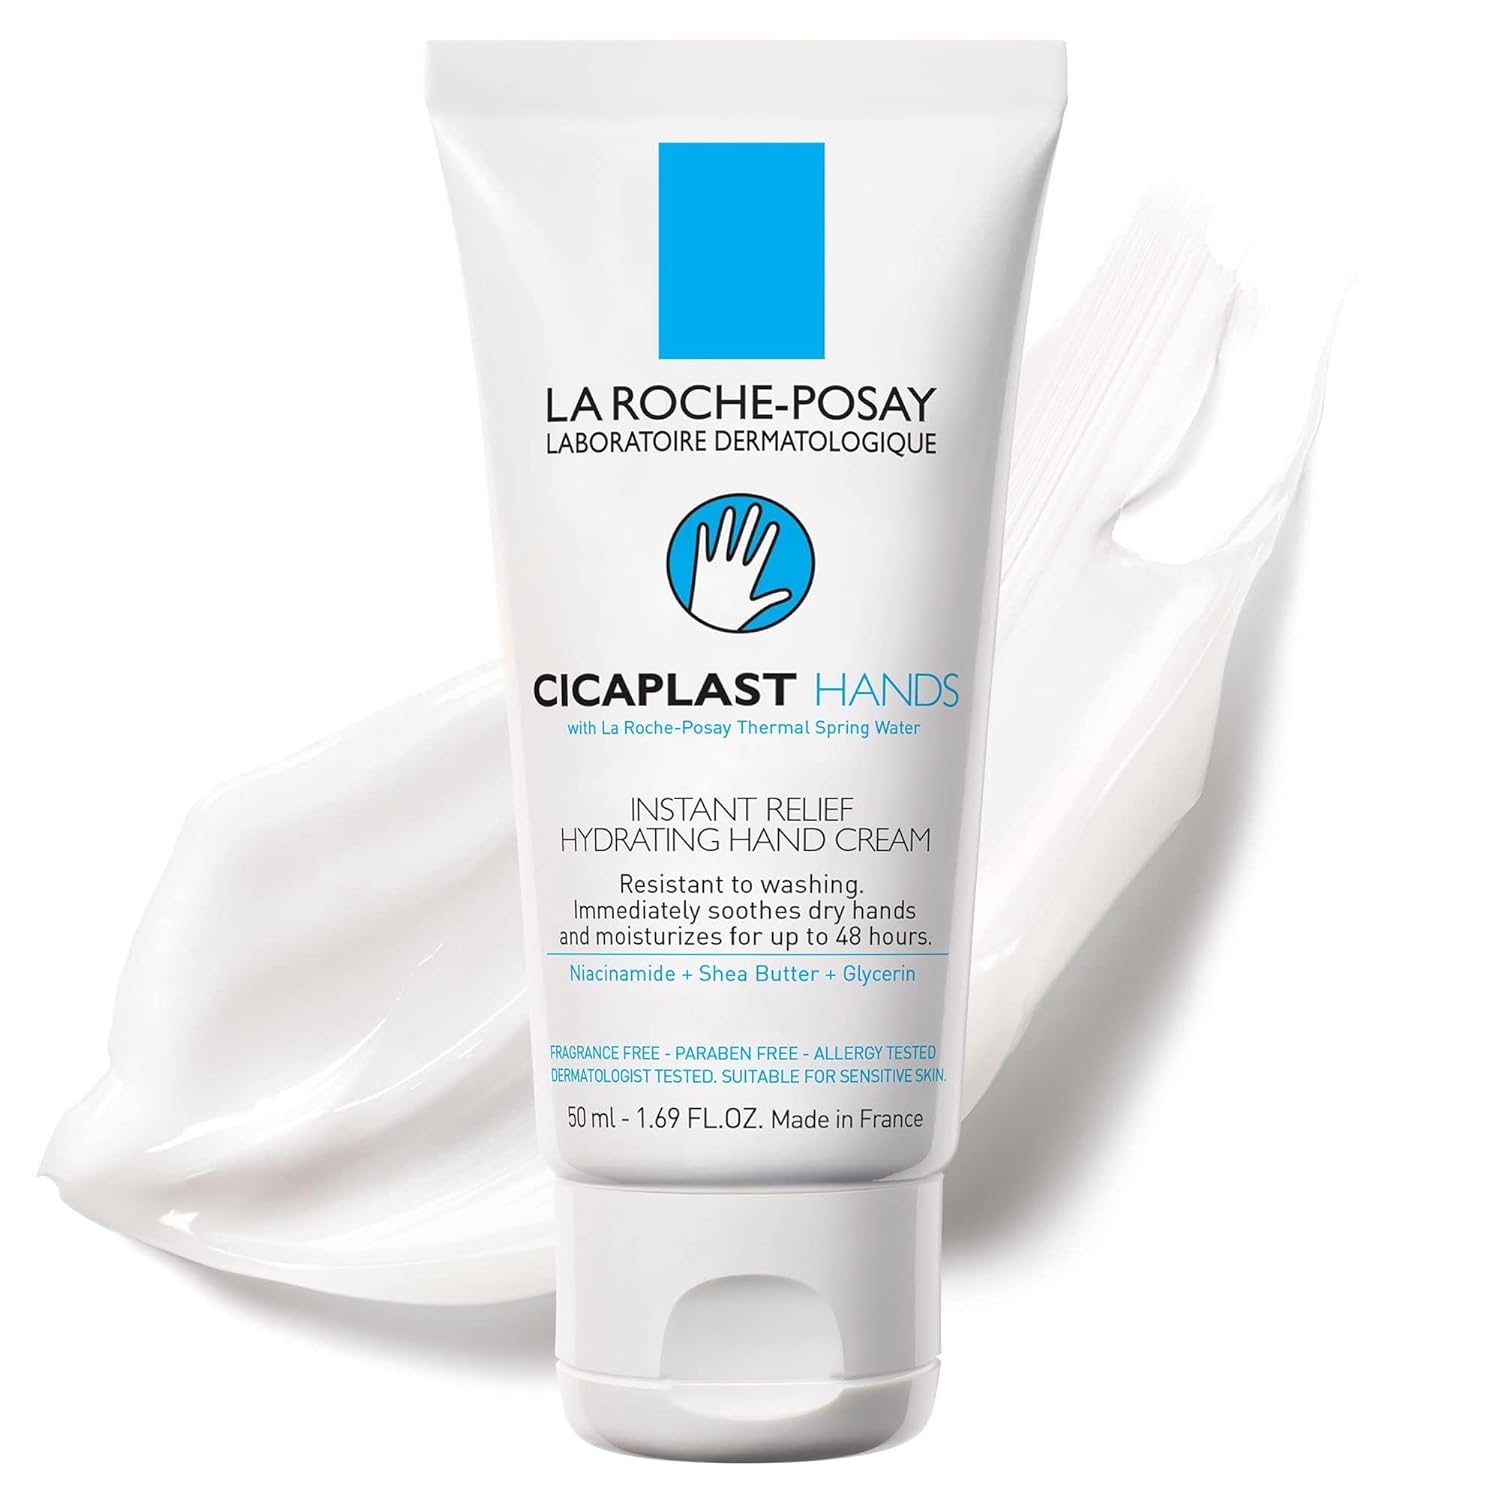
Look for creams with shea butter, glycerin, or ceramides like this La Roche-Posay Cicaplast Hand Cream.
Wear gloves when you’re washing dishes or cleaning so your hands and manicure aren’t constantly exposed to water and household cleaning products. And try not to use your nails as tools for opening packages, scraping labels, or prying things apart.
Good nail care happens before, during, and after your gel manicure. For more advice, read my 10 expert tips to make your gel and dipping powder nails last longer.
12. Master a simple gel manicure before trying complicated nail art
I love nail art. It’s one of the fun parts of doing your own nails. But if this is your first gel manicure, don’t make your life harder than it needs to be.
Start with: Nail prep → base coat → gel color → top coat
Learn how much product you need. Practice painting close to your cuticles. Get comfortable using your non-dominant hand. Learn how your gel and lamp work together.
Once you feel comfortable with a solid-color manicure, start experimenting.
Try dots. Add some glitter. Practice a French tip. Use nail stickers. Then move into more detailed nail art as your control improves. If you’re ready to start experimenting, here are 12 easy nail art ideas for beginners.
What would I do differently if I were learning gel nails again?
If I had to learn how to do my own gel nails all over again, I would keep things much simpler.
I wouldn’t buy every nail product I saw.
I wouldn’t worry about complicated nail art.
And I definitely wouldn’t expect my first manicure to look like something I’d spent years practicing.
I’d choose one basic gel system and focus on four things:
Good nail prep. Thin coats. Clean application. Proper curing.
Once I could consistently create a clean manicure, then I’d start experimenting.
After doing gel nails for many clients and doing my own nails over the years, I’ve learned that the little details are often what make the biggest difference.
You don’t need to become a nail tech overnight. Start by learning how to do one simple gel manicure well.
Common Questions About Gel Nail Manicures
Is it easy to do your own gel nails at home?
Doing your own gel nails gets easier with practice. Beginners often find painting with their non-dominant hand and applying gel neatly around the cuticle the most challenging parts. Start with a simple solid-color manicure and focus on clean, thin layers before attempting nail art.
What do beginners need for a gel manicure at home?
For a basic DIY gel manicure, you’ll need nail prep tools, a base coat, gel color, top coat, an appropriate curing lamp, lint-free wipes or similar cleanup supplies, and cuticle oil. Always check the instructions for the specific gel system you’re using.
How many coats of gel polish should I apply?
I usually use two or three thin coats depending on the color and opacity of the gel polish. Some colors cover more easily than others. Instead of applying one thick layer, build the color gradually and cure each coat according to the manufacturer’s instructions.
Why is my gel polish bubbling or wrinkling?
Thick or uneven application and curing problems can contribute to a poor finish. If you notice bubbling or wrinkling, don’t simply cover it with another layer. Check your application and the curing instructions for your particular product before continuing.
Why does my gel manicure peel off?
There isn’t one single cause. In my experience, inadequate nail prep, product touching the surrounding skin, missed edges, application issues, and problems with curing can all contribute to lifting or peeling.
Can gel nail polish cause an allergy?
Yes. Some people can develop allergic contact dermatitis from ingredients used in nail products, including certain acrylates and methacrylates. Dermatology guidance emphasizes minimizing skin contact with uncured gel and curing products according to the manufacturer’s instructions.
Can beginners do nail art with gel polish?
Absolutely, but I’d learn a basic gel manicure first. Once you can apply thin, clean layers with both hands, simple nail art such as dots, glitter, stickers, or French tips becomes much easier.
How do I remove a gel manicure at home?
Don’t peel it off. The appropriate removal process depends on the product you’re wearing. For soak-off gel polish, follow my complete gel nail removal tutorial.
Final thoughts
Doing your own gel nails at home can be frustrating at first. Painting with your non-dominant hand, figuring out how thin each coat should be, keeping gel away from your cuticles, and learning how your products work all take practice.
But that’s exactly what it is: practice.
After years of doing nails professionally and doing my own gel manicures, one of the biggest things I’ve learned is that a good gel manicure isn’t just about the color you choose. Nail prep, clean application, thin layers, proper curing, nail care, and proper removal all make a difference.
So if your first DIY gel manicure isn’t perfect, don’t give up. Keep it simple, learn what went wrong, and try again. You’ll be surprised by how much easier doing your own nails becomes over time.
If you’re new to DIY nails, start with these next: